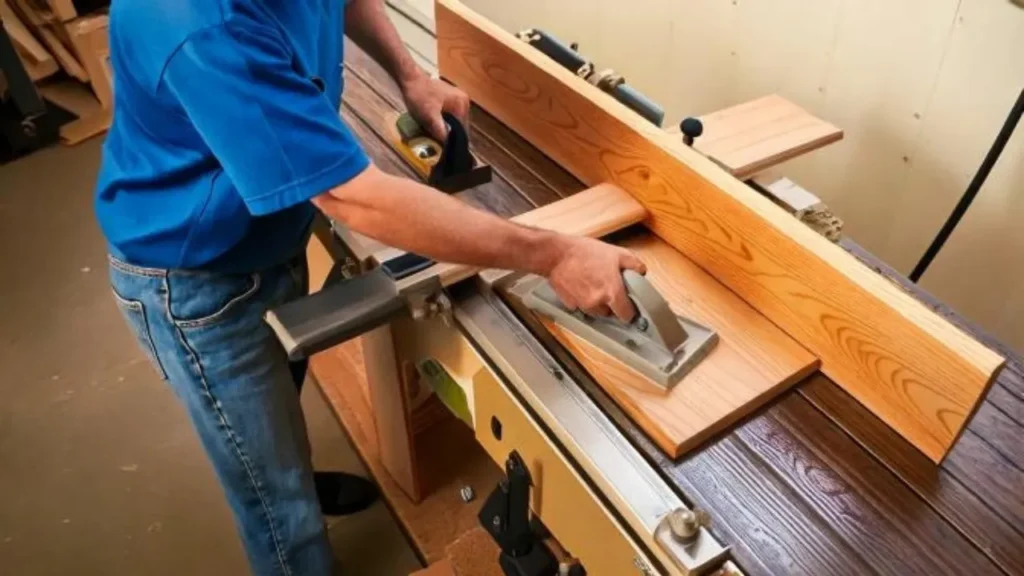
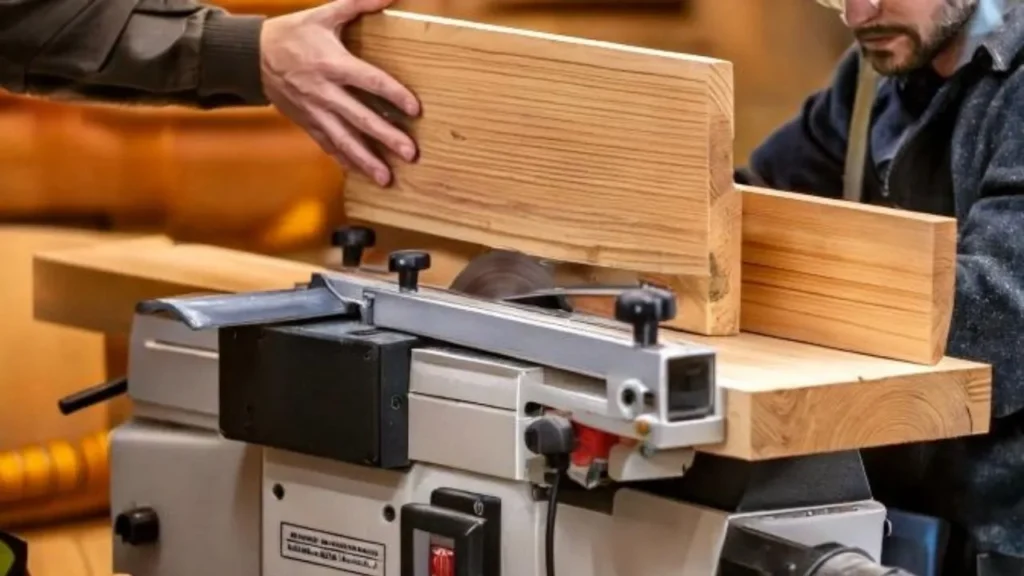
It’s a common dilemma for woodworking enthusiasts and professionals alike: you’ve got a thickness planer in your shop, but you’re missing a jointer. Now, you might be wondering, can you use a thickness planer as a jointer? Simply put, yes, you can! However, it requires a specific setup and method to achieve the desired results.
Differences Between A Planer & A Jointer
A thickness planer is primarily used to cut lumber to a specific thickness, while a jointer is designed to flatten the faces and square the edges of a piece of wood. Although they serve different functions, you can use a thickness planer to mimic some of the roles of a jointer, such as flattening the faces of a piece of wood. But remember, it’s not an exact replacement.
Required Tools & Materials
To use a thickness planer as a jointer, there are a few essential tools and materials you’ll need. Firstly, a solid and flat sled or table that can pass through your planer is crucial for creating a flat reference surface. Shims and adhesive, such as a sticky mat or hot glue, are also important. These will help in leveling out the wood and ensuring it stays firmly in place during the process.

Safety Precautions
Safety should always come first when using power tools. When utilizing a thickness planer as a jointer, there are several safety precautions to bear in mind. Always wear safety glasses to protect your eyes from flying wood chips and dust. It’s also a good idea to use hearing protection, as planers can be quite noisy.
Moreover, avoid loose clothing and jewelry, which can get caught in the machine. Lastly, always make sure to keep your hands away from the blades, and always use push blocks or push sticks when feeding the wood through the planer.
Essential Steps In Using A Thickness Planer As A Jointer
Now that we’ve covered the basics, let’s briefly overview the process of using a thickness planer as a jointer. The first step involves creating a flat reference surface by attaching your wood to a flat sled that can pass through the planer. Next, you’ll apply shims and adhesive to level out the wood and ensure it’s aligned with the flat reference surface. From there, you’ll pass the wood through the planer to flatten one side. After each pass, inspect the wood and make necessary adjustments. Once one side is flat, you can then plane the other side to make it parallel to the first.
While this method can flatten and make surfaces parallel, it does not replace the function of a jointer in creating two perpendicular faces. For edges to be square, additional tools like a table saw or hand planes may still be necessary.
By following these steps, you’ll be able to use a thickness planer as a jointer effectively. Just remember that patience and careful attention to detail are key to achieving the best results.
1. Setting Up Your Planer With A Sled & Shims
So, you’ve got your thickness planer, a sled or table, and shims at the ready, you’re all set to transform your planer into a makeshift jointer. The first step in this process is setting up your planer with the sled and shims. This might seem a bit daunting if you’re new to woodworking, but don’t worry, we’ll guide you through it.
The basis of this method rests on the principle of creating a flat reference surface for your wood. This means that you need a sled or table that is flat and can pass through your planer. You may be wondering why a sled? Well, the sled acts as a foundation for your wood and helps in generating the flat surface required.
Now, onto the shims. These are essential in leveling out the wood. You can think of shims as the fine-tuners of this process. They help to correct any imperfections, such as bowing, twisting, or warping in the wood. To secure the wood and shims in place, you’ll need an adhesive. A sticky mat or hot glue works wonders for this.
2. Creating A Flat Reference Surface
With the setup ready, it’s time to create that flat reference surface. This is a critical part of the process and the key to using a thickness planer as a jointer effectively. Start by attaching your piece of wood to the sled. Make sure it’s secure and won’t move during the planing process.
Next, it’s time to bring in the shims. Place them under any areas of the wood that aren’t touching the sled. This will help level out the wood and ensure it’s flush with the sled. Once the shims are in place, use your chosen adhesive to secure everything. This creates a stable, flat reference surface for the planer to work with.
3. The Planing Process: Step-by-Step Guide
With your flat reference surface ready, it’s time to start planing. Feed the sled and wood into the planer, ensuring the side to be planed is facing up. As you pass the wood through the planer, it will start to flatten the upper side. This is where the magic happens, and your thickness planer starts to act like a jointer.
This isn’t a one-and-done process though. You may need to pass the wood through the planer several times to achieve the desired level of flatness. Be patient and make slight adjustments where necessary.
4. Checking & Adjusting For Flatness
After each pass through the planer, it’s important to check the wood for flatness. This will help you identify any areas that need further attention and let you know when you’ve achieved the desired result.
If the wood isn’t quite flat enough, don’t be disheartened. Simply adjust the shims, add more adhesive if necessary and pass the wood through the planer again. Remember, patience is key here. You’re aiming for a flat surface, and achieving this might take a few tries.
By following these steps, you’ll be well on your way to using a thickness planer as a jointer. But the process isn’t over yet, so stay tuned for the next steps in our guide.
5. Achieving Parallel Faces With Your Planer
Now that you’ve successfully flattened one side of your wood, you’re halfway there to using your thickness planer as a makeshift jointer. The next step is to create a parallel face on the opposite side of the wood.
To do this, remove the wood from the sled, and pass it through the planer without the aid of the sled or the shims. This time, you’ll use the flattened side as your reference face. This means placing the flat side down on the planer bed. Your planer will then shave off the high spots on the top side, making it flat and parallel to the reference face.
This step may also require multiple passes through the planer. Just like before, patience is vital here. After each pass, inspect your wood for flatness and make any necessary adjustments before proceeding with the next pass.
Considerations Of Using A Planer As A Jointer
While this method can effectively flatten wood and create parallel faces, it’s important to note that using a thickness planer as a jointer has its limitations. A thickness planer can’t exactly replicate the function of a jointer in creating two perfectly perpendicular faces.

To be precise, a jointer is designed to flatten the face of a piece of wood and then square an edge to it. A thickness planer, on the other hand, is designed to make the second face parallel to the first. So, while you can use a planer to make two faces flat and parallel, it won’t necessarily make them perfectly square.
Additional Tools For Perfecting Edges & Corners
To square the edges, you might need to bring in additional tools. A table saw or hand planes can be handy for this task. You can use a table saw to trim the edges of the wood after it’s been planed, ensuring that the edges are perfectly square to the faces. Hand planes, on the other hand, can be used for fine-tuning and making small adjustments.
Using these tools in conjunction with your thickness planer can help you achieve the best possible results. It’s a bit more work, but the effort will pay off in the quality of your finished piece.
Conclusion
Using a thickness planer as a jointer can be a great workaround for woodworkers who don’t have access to a jointer. It requires a bit of setup and some patience, but the results can be surprisingly good. Just remember that this method has its limitations and doesn’t replace the need for a jointer entirely.
Also, always prioritize safety. Use protective gear, avoid loose clothing, and always keep your hands away from the blades. And finally, don’t rush the process. Take your time, make adjustments as necessary, and you’ll be rewarded with beautifully flattened and parallel wood ready for your next woodworking project.