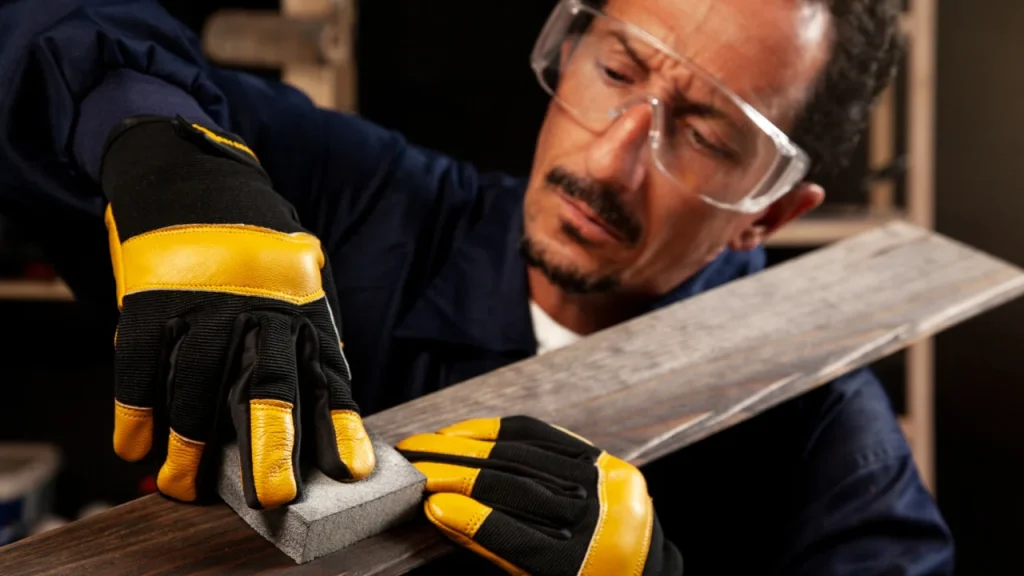
I have been working on a DIY project to make a beautiful backyard door for the last two weeks. The previous door was damaged, and I decided to replace it. My garage had poplar wood boards that were the best door-making option. So, when I started planing the wood, I observed the planer needed to do a better job. It is not correctly smoothing the wood surface; I have been facing this problem for the last few weeks. I also changed the blades’ direction, but it still doesn’t work.
So, I decided to replace the thickness planer blades. Let’s learn together how to change the blades on a thickness planer, especially in Dewalt 735.
5 DIY Steps To Change Blades On Dewalt DW735 Planer
If you are not getting a smooth wood surface, change your planer blades to fix the issue. Follow the easy steps below:
Tools Required
Step 1: Safety Comes First
Before starting the blade replacement, you should follow some safety precautions to avoid severe cuts on your hands and other damage. Always wear gloves before doing maintenance work on the planer. You can also wear glasses to prevent your eyes from dust.

Step 2: Unscrew The Top
An Allen key comes with every Dewalt thickness planer and is located on the top. Take it and start removing the four screws that secure the top. When you loosen the screws, lift the top cover and put it on a side.
Step 3: Unscrew The Knobs
After removing the top, you will see three knobs to secure the dust shroud. Dust shroud is a black type cover in the planer that collects wood chips and dust and throws it out from the planer. While removing the cover, you may see a lot of dust or wood chips stuck inside. Remove them and clean them properly.
Take a brush and clean all the dust inside the planer; it will help increase the machine’s performance and provide smooth planing.
Related Guide:
Step 4: Remove the Blades
Removing blades is a task that should be performed carefully because there are chances of getting cuts on the fingers. So, I always recommend wearing gloves before doing this type of work.
On the Dewalt DW735 cutter head, blades are installed on the three sides. Every side has two blades installed and secured with 8 screws. It means you have to unscrew 24 screws.
Now, start removing the screws one by one; when all the screws are removed from the blades, take your Allen key that contains a magnet on its backside and put the blades outside. Similarly, rotate the cutter head and repeat the procedure of removing screws.
Finally, look at the blades because you can use a single blade two times. At first, when the blade becomes defective, you can flip the side and use it again. But if both sides get bad, you must install new blades.
You can easily buy new blades from any online store according to your planer model. Install the blades carefully and secure all the screws tightly so the blade wouldn’t move from its position. That’s All!
Step 5: Restore the parts
After changing the blades, now begin reinstalling all the removed parts. Put the dust shroud cover back and install it carefully; take the three red knobs and tighten them. Now, install the top cover by securing the four screws.
Note: When you change the blades, test it on a slow feed rate before doing the main project work. When the planer starts planing the wood perfectly, then you can proceed.
What blades are the best for Dewalt DW735 Planer?
Dewalt DW735 planer is one the top thickness planers in the market that accurately plane the wood surface and run longer. If your blades are not smoothing the wood perfectly, you should change those knives. You must know what blades are suitable for your planer and compatible with it.
Dewalt always recommends using their manufactured blades that are compatible and wouldn’t cause any issues. You can get them easily from Amazon.
You don’t need to worry about the quality and build material of the blades because Dewalt designs them.
Last Words
Now you can replace the DW735 blades by reading my quick guide. You should keep the preventive measures in mind and always follow them before doing any maintenance work; it will save you from any injury. If you have any questions or need help regarding thickness planer maintenance, you can share your thoughts below. I will be ready to help you at any time.
More Helpful Guides: