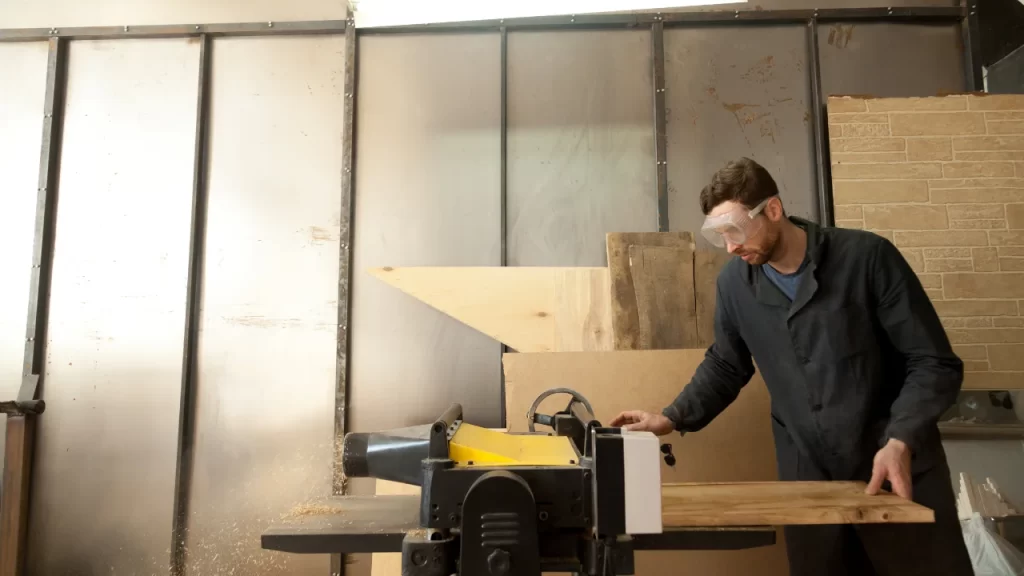
Thickness planers need continuous maintenance to provide smooth and perfect wood planing. We may face severe consequences if we ignore this and keep using the planer.
Every part of the thickness planer needs proper care to work accurately. Similarly, a fan is an integral part of the planer that blows the wood dust or chips from the planer. This helps to keep the planer running smoothly and helps to prevent clogs and other issues.
The fan is made of plastic and located inside the fan housing of the planer. If the fan is damaged or not working correctly and you are considering replacing it, you can follow this guide.
Changing the fan on a DW735 planer is not a hectic task; it’s too easy; you will need to follow these steps.
7 Easy Steps To Replace DW735 Planer Fan

For safety purposes, it is recommended to wear gloves.
Tools Required
Step 1: Unscrew The Top
A cover is available on the top of the planer that is secured by four screws. Look at the toolbox that came with the planer; it will have a screwdriver inside. Take the screwdriver and begin removing these screws.
When you finish removing the screws, now put the top cover on the side and save all the screws in one place. So you don’t face any difficulty finding them during reinstallation.
Step 2: Remove The Knobs
The three red knobs secure the dust shroud; start removing these knobs with your hand. Put off the shroud top and place it on the side. The dust shroud helps collect the dust produced while planing wood.
Step 3: Detach The Dust Ejector
The dust ejector is connected to the blower housing, which helps extract all the dust. It is secured to the planer through a pressable pin-type button. Take a screwdriver and push the pin button; now, rotate the ejector in the opposite direction, and it will get separated.
Step 4: Unscrew The Blower Housing
The blower housing is secured with three locking clips and two screws. First, remove the screws with a screwdriver or any suitable tool. Now, locate the locking clips, one is available on the top, and the remaining two are available downside of the housing. Pull the clip in the opposite direction with your fingers to unlock it. The housing will get separated, and you will see the fan inside.
Step 5: Remove The Fan
Here we will use two tools to remove the fan, socket wrench, & screwdriver. The fan is secured with the motor through a nut; if you try to remove the nut with a wrench, the fan keeps rotating whenever you apply force. So, to avoid this, lock the fan from the backside with the help of a screwdriver and take the socket wrench to remove the nut. The fan will be successfully removed.
Also, take a brush and clean the dust or wood chips inside the fan housing if it has.
Step 6: Install New Fan
You can easily find DW735 planer fans from Amazon, eBay, or directly from Dewalt. Take the new fan, put it on the motor shaft, and install the nut to secure the fan. Again, lock the fan from the backside and tighten the nut with the help of a socket wrench.
Step 7: Reinstall The Parts
So, you’ve successfully installed the fan, and now it’s time for reinstallation. First, reattach the blower housing by locking the three lock clips and then secure the two screws with the help of a screwdriver.
Now, restore the dust shroud and properly align it on the top. Take the three knobs and tightly secure the dust shroud.
The next step is to reinstall the dust ejector, take the ejector and press the pin button. Rotate the ejector and keep moving it until it secures into place.
The last step is to reinstall the top, put the top of the planer, and tightly secure the four screws with the help of a screwdriver. That’s All!
Last Words
If there is a problem with the planer fan, you will not get an accurate and smooth wood surface. So, you must do maintenance of your planer after 2 or 3 months. It will help get perfect wood planing and increase the life of the planer.